Building the Makers Space
As we move into our new and wonderful building we have to design many of the spaces to fit our particular needs. The new Makers Space is one of those places. A group of students was tasked with curating the new Makers Space, by building new shelving and tables to hold all of our shiny new equipment.
Chop Box table Project
Our group of four took on the project of rebuilding a table from the old Makers Space to hold a brand new chop box. At first the project seemed simple enough: redesign the old table on paper, get the materials and start building. However, after we started building it became clear about how much we had to learn about carpentry, but our team is exited to learn new techniques and we show up to class every day with plenty of energy to tackle any challenge.
Step 1: Designing the Project
Our first step was to take the measurements of the original table and the new chop box to then redesign the new chop box table. Each person in our group started by making an isometric drawing, and a top and side view drawing of the table.
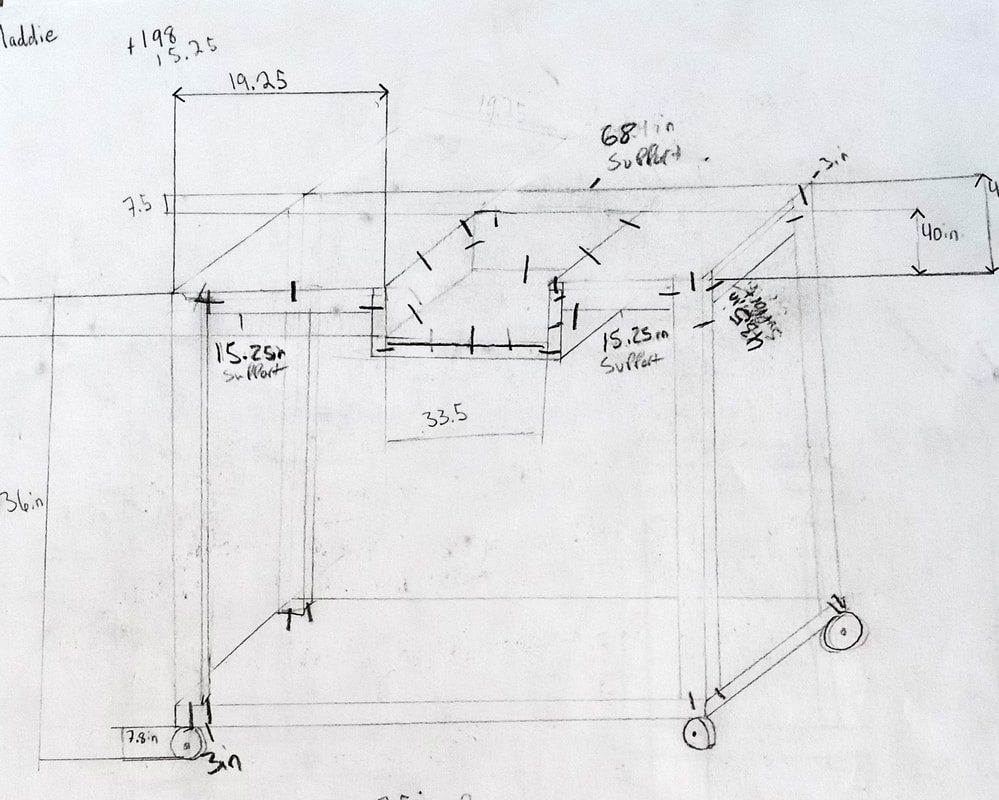
The above image is the isometric drawing I did of what the new chop box table would look like. This drawing was not to scale, but it does have some of the more important measurements shown.
|
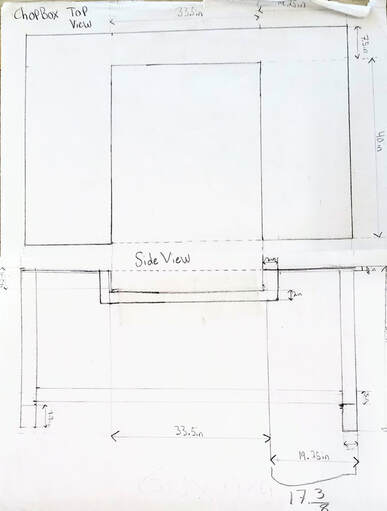
The above images are the top and side view of what the new chop box table will look like. These drawings, unlike the isometric drawing, is to scale at 4 inches to 1 centimeter. This drawing also has all of the needed measurements as this is what we would be using as a reference while we built the chop box table.
|
Step 2: Digitalizing the Drawings
The next step I took was to make a digital copy of both of the drawings. The purpose of these drawings was to create a cleaner and more precise drawing of the designs. I used the program Sketch up to create a 3d drawing of the table, and Adobe Illustrator to make a top and side view drawing.
Step 3: Gathering Materials
Before we could actually begin building we had to, of course, create a materials list. This step was more difficult than it originally seemed, our group spent about two days in class carefully measuring and deciding how much of each material we would need. We originally decided that we were going to use one 1/2 inch thick piece of plywood that was 8ft by 4ft, one box of 3 inch long screws, and ten 8 ft long 2 by 4s. We assumed that we would need much less material than we actually ended up needing because we were reusing materials from the old table. In reality, we did end up needing 2 more 2 by 4s to complete the supports for the table.
Step 4: Dismantling
Because we were recycling the old chop box table we had to mostly dismantle it before we could start building the new table. We took off all of the old table's top surfaces, which were all at different levels, and the many different levels of table top supports. We left three of the four main legs of the table, so we only had to build one more leg for the corner of the table. Most of the wood that we took off of the table was old, split, riddled with bent nails, or damaged in some way. Unfortunately, I don't have any pictures of this process as we started documenting the build only after we had started building the table.
Step 5: Building
The first thing we had to do before we could move on to any other steps was attaching a fourth corner table leg and resizing the existing legs. Each of the legs were made of two 2 by 4s screwed together. We wanted to make sure that each of the legs of the table were uniform, so we flipped the table on its side and unscrewed the casters and legs so we could measure the legs and cut them down to size if they were tool long. Once all of the legs and the casters were reattached our next goal was to attach the side supports of the table top. Two of the side supports were about three feet long and the third side support was about six feel long. We only cut one six foot long side support because the front supports for the table were going to be broken up so we could eventually slide the chop box into a slot that will be inset on the table.
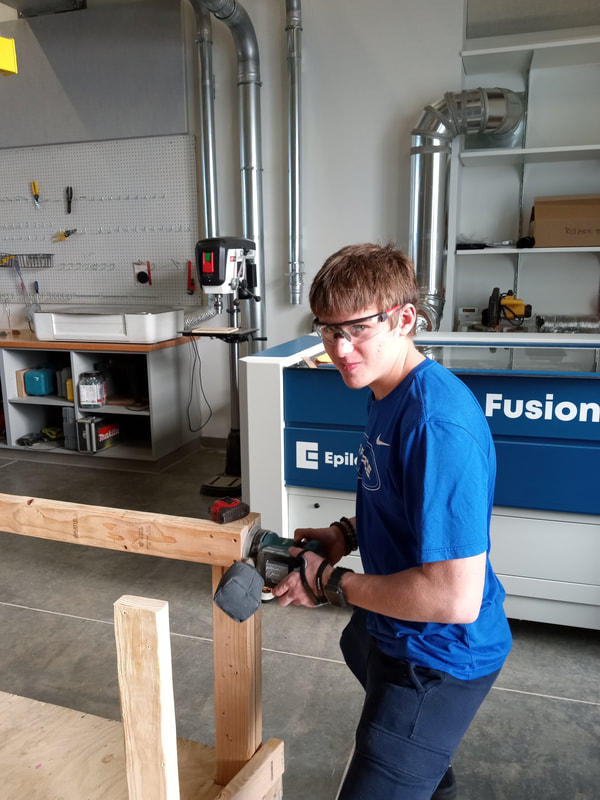
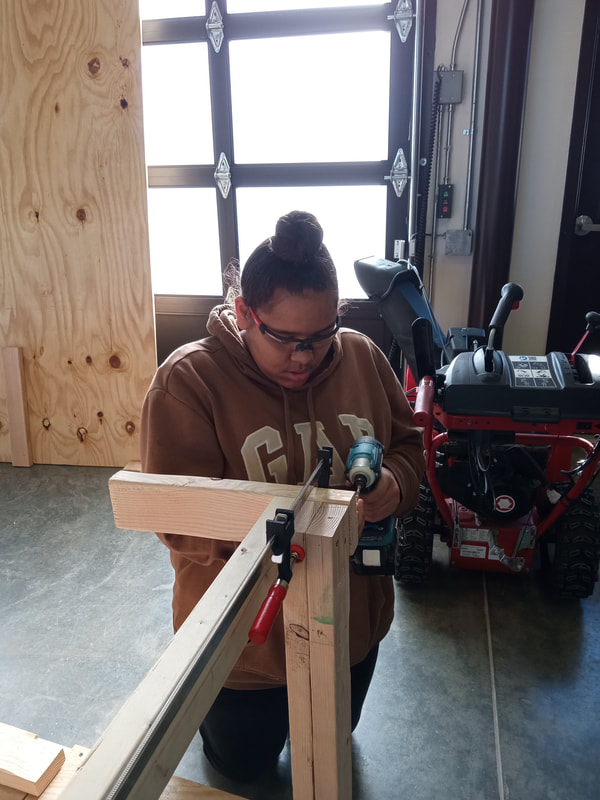
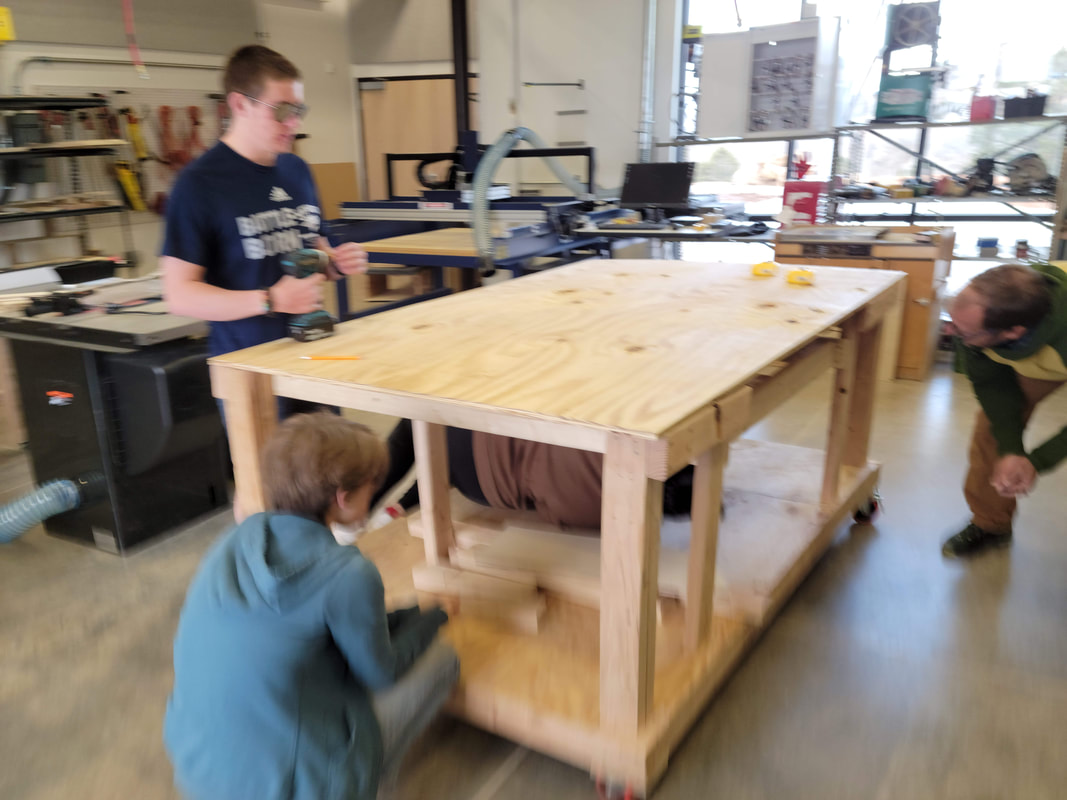
In the above image we see one of my group members attempting to level one of the side supports and the leg with a sander in preparation for attaching more table supports.
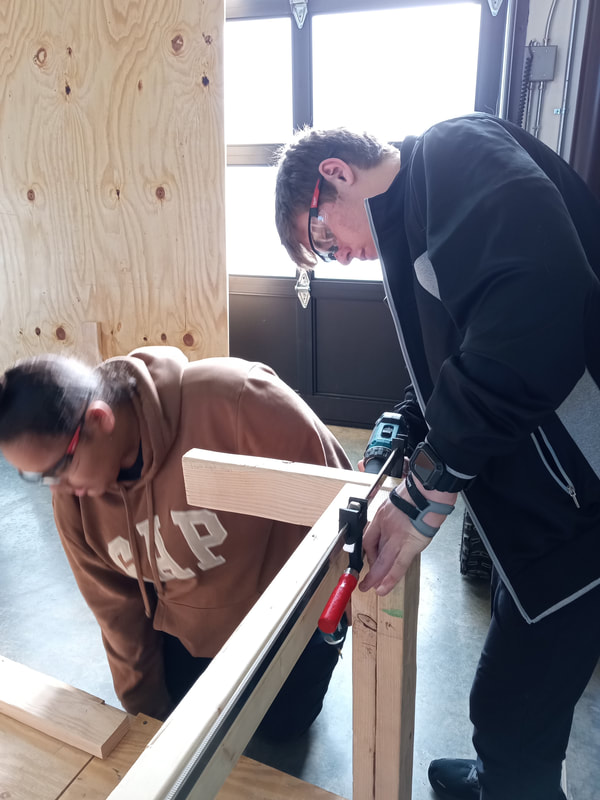
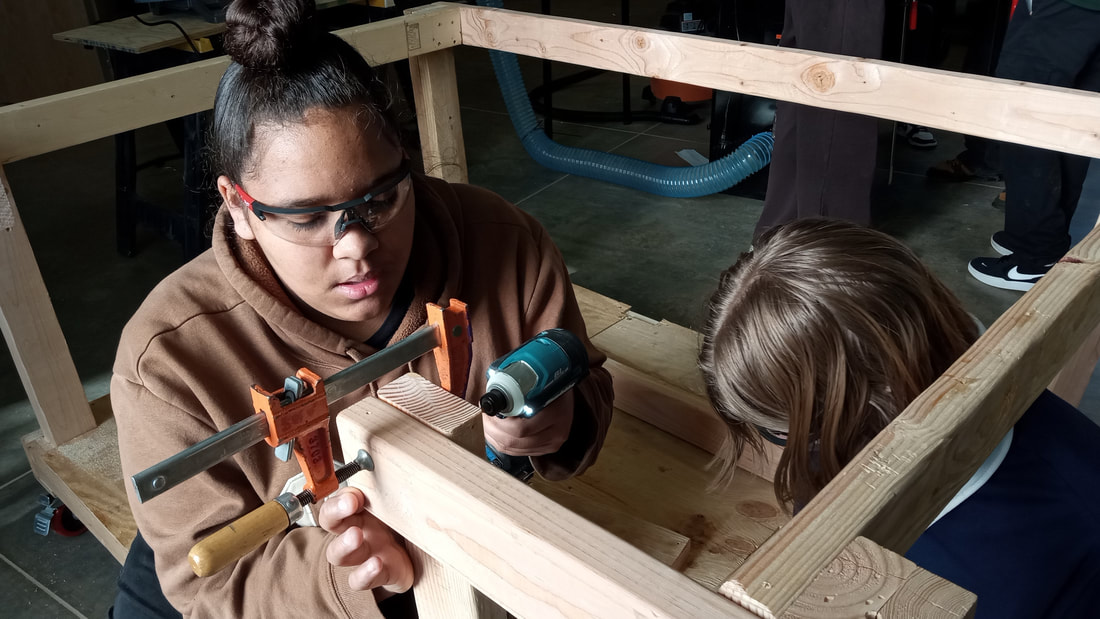
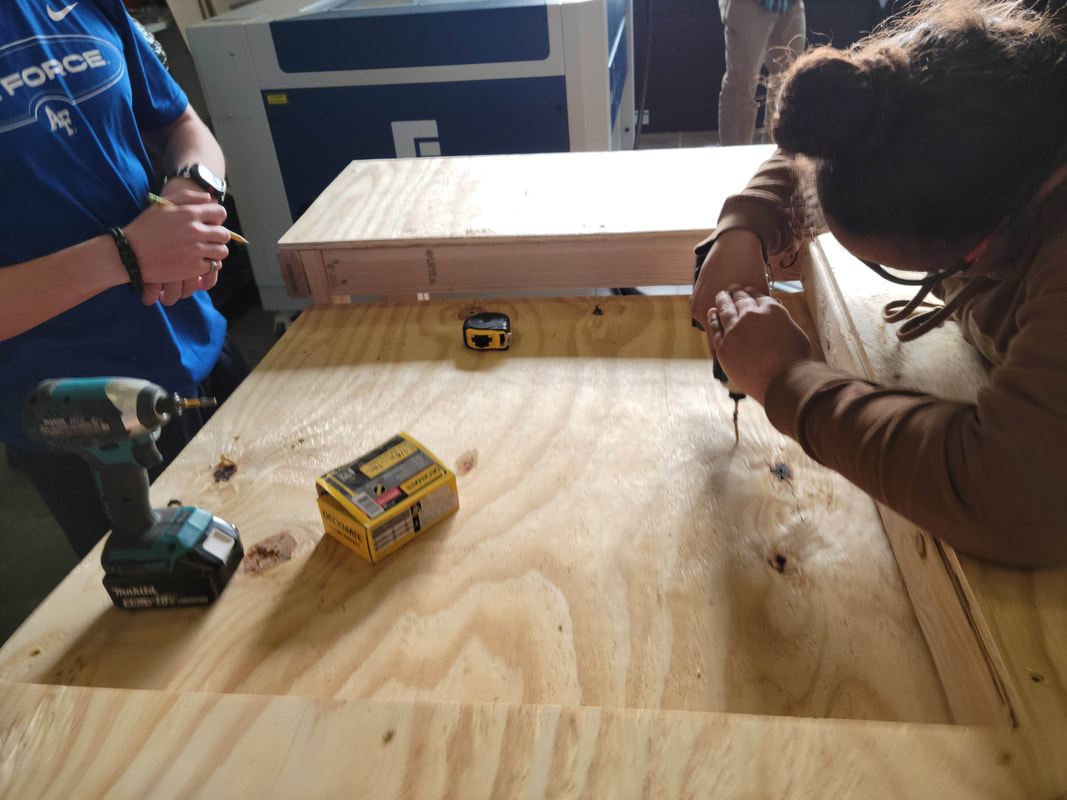
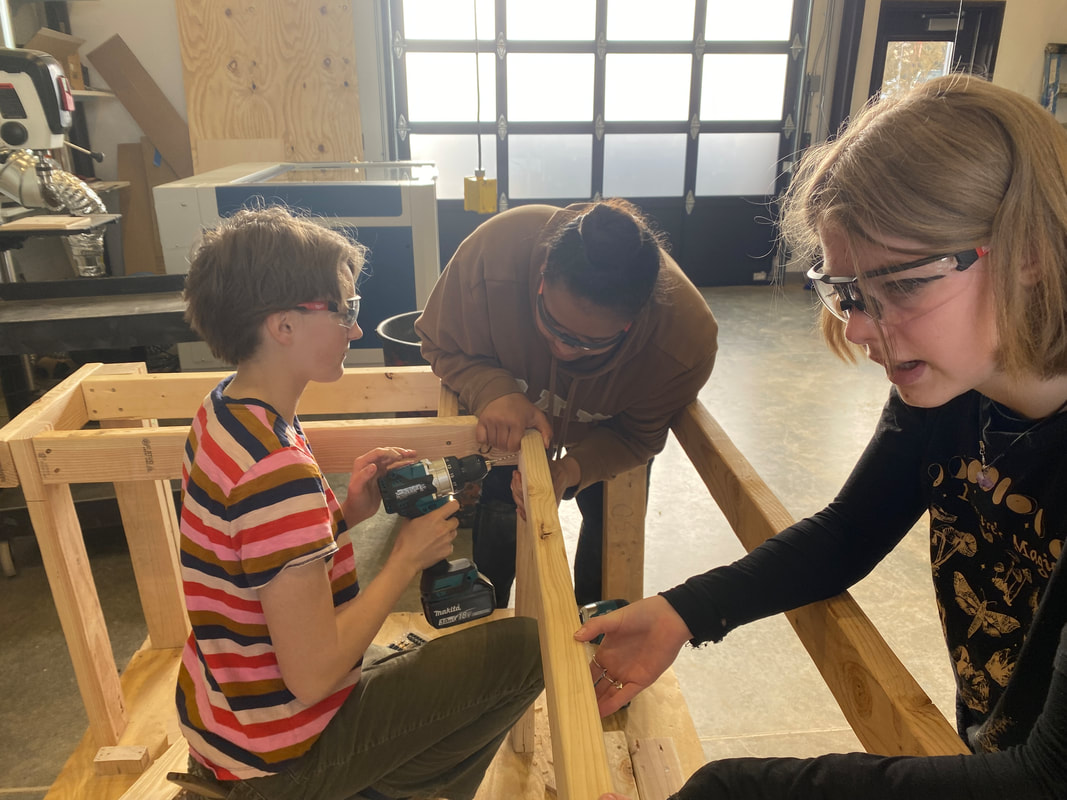
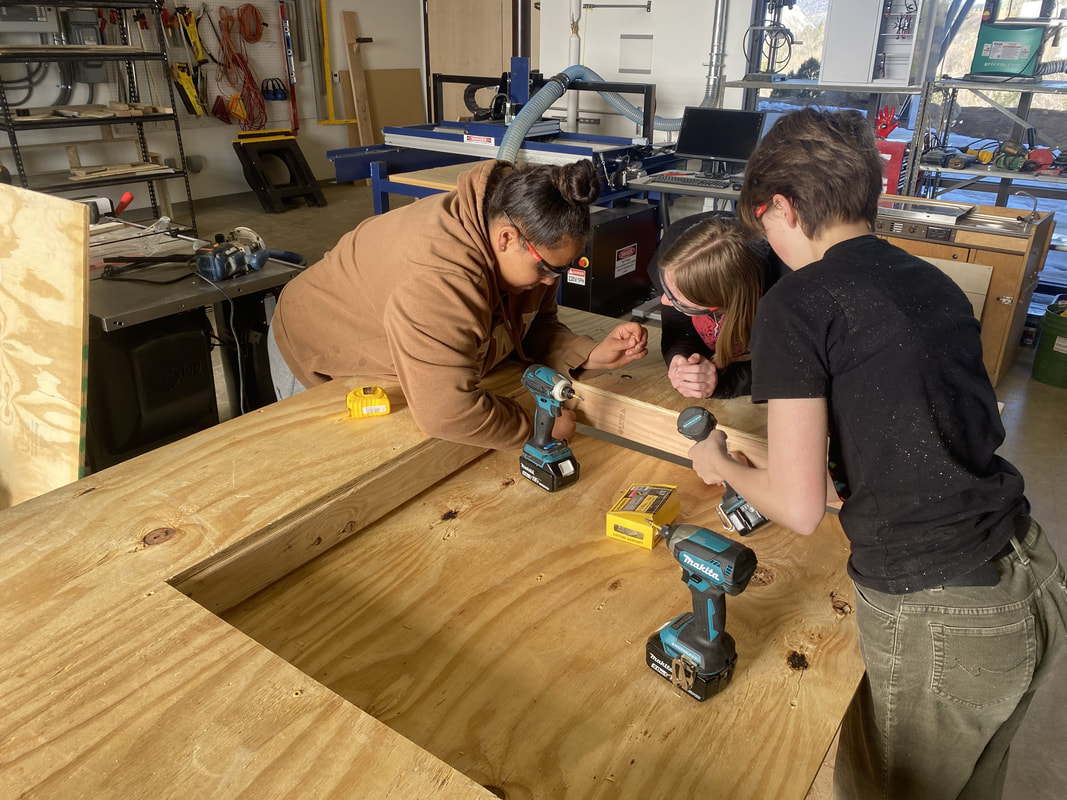
Two of my group mates drill the guide holes for the screws for one of the supports for the front of the table.
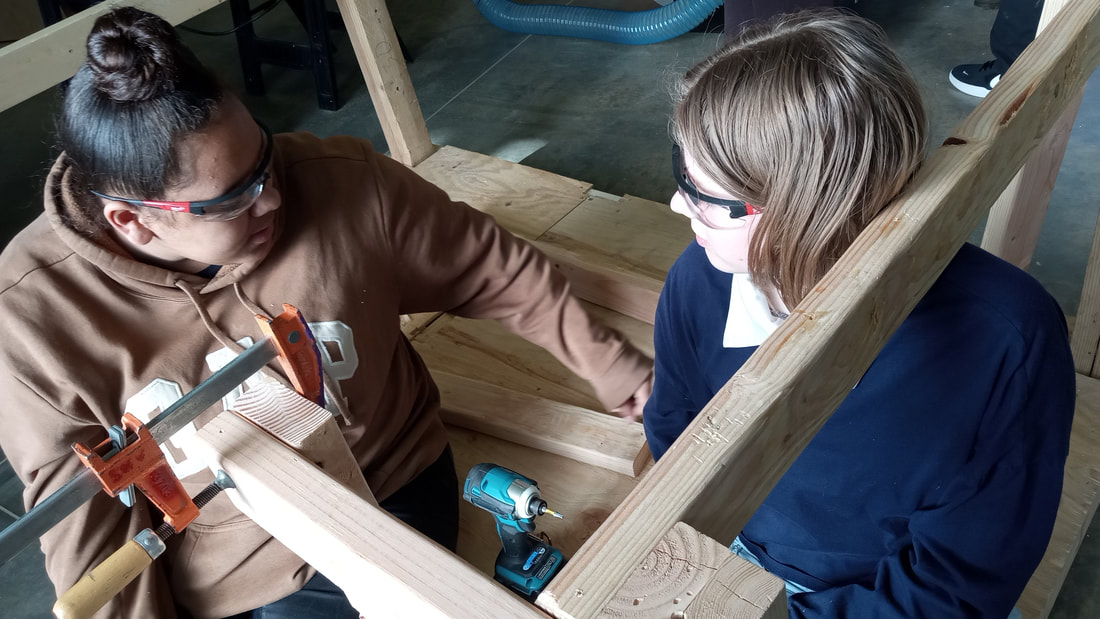
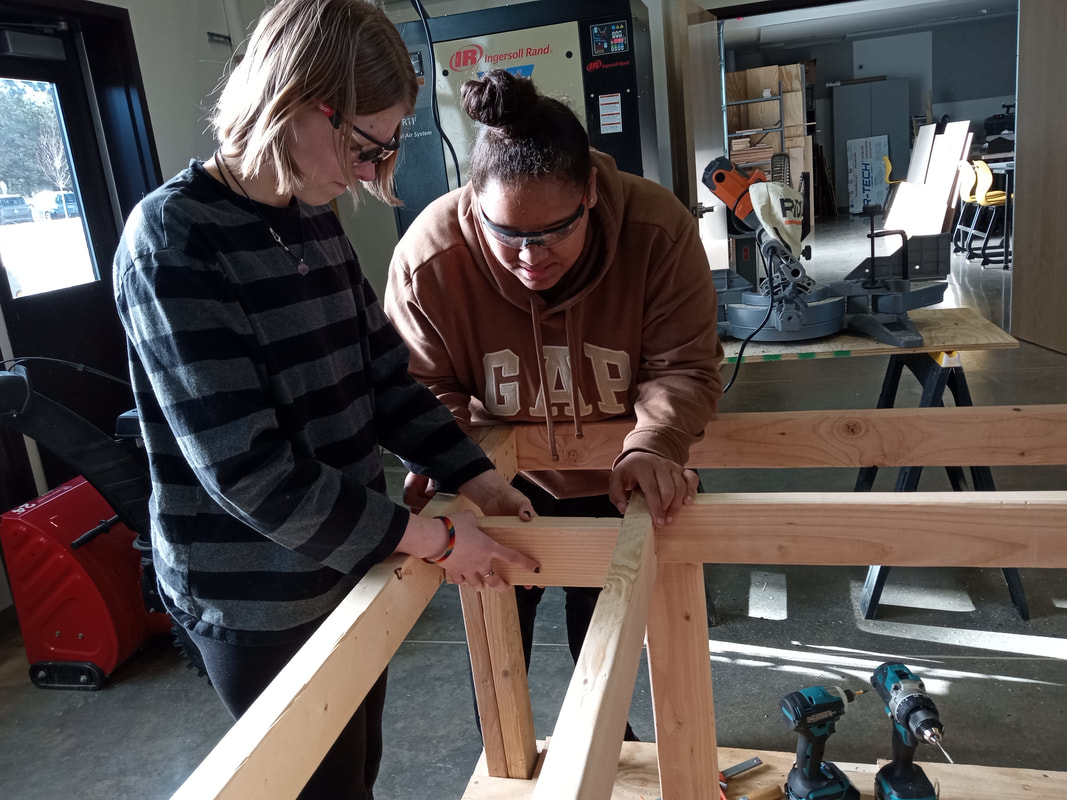
The above two photos show two of my group members attaching a leg that will provide some of the support for where the chop box will be held.
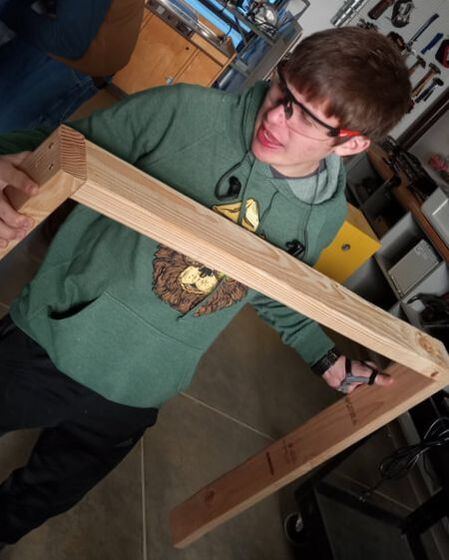
One of my group members showing off the internal support that we had all put together. Originally we had accidentally put one of the pieces on crooked. We had to take off that piece of wood and change the angle that it was attached to the other piece of wood at to prevent future problems. After we reattached the piece of wood we realized that one of the pieces of wood was warped any way, so taking taking one of the legs off and reattaching it didn't change much.
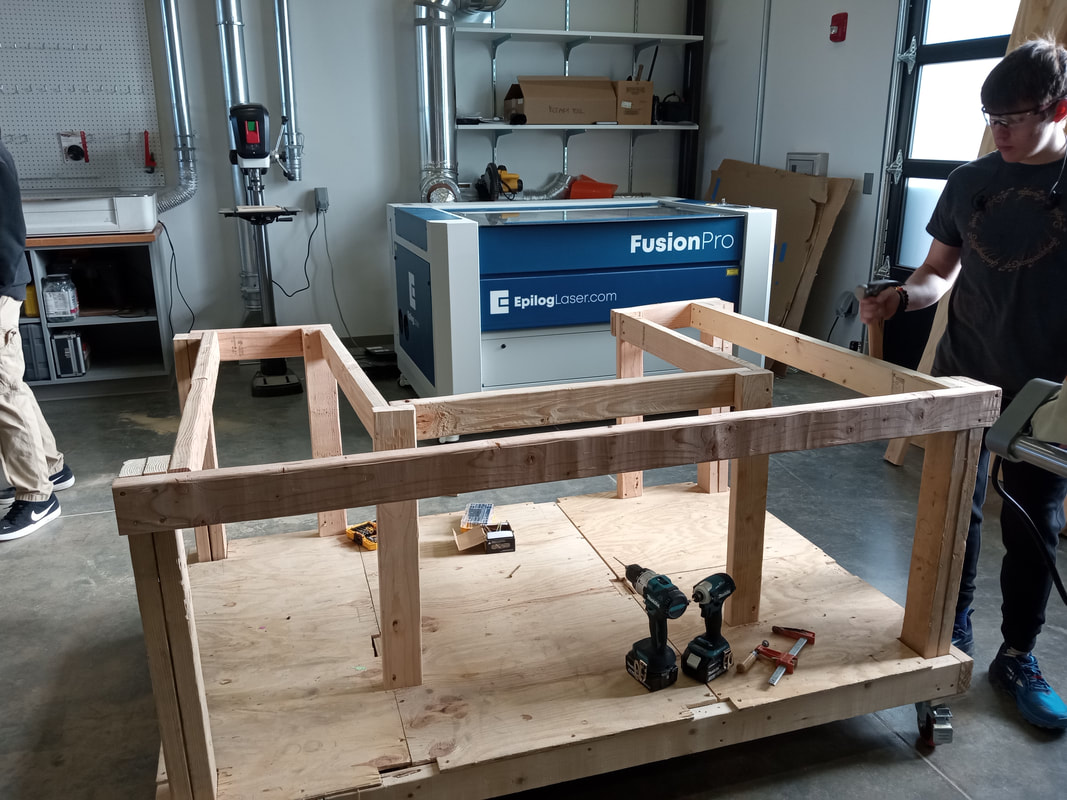
Here is the table with the finished frame of the upper table top.
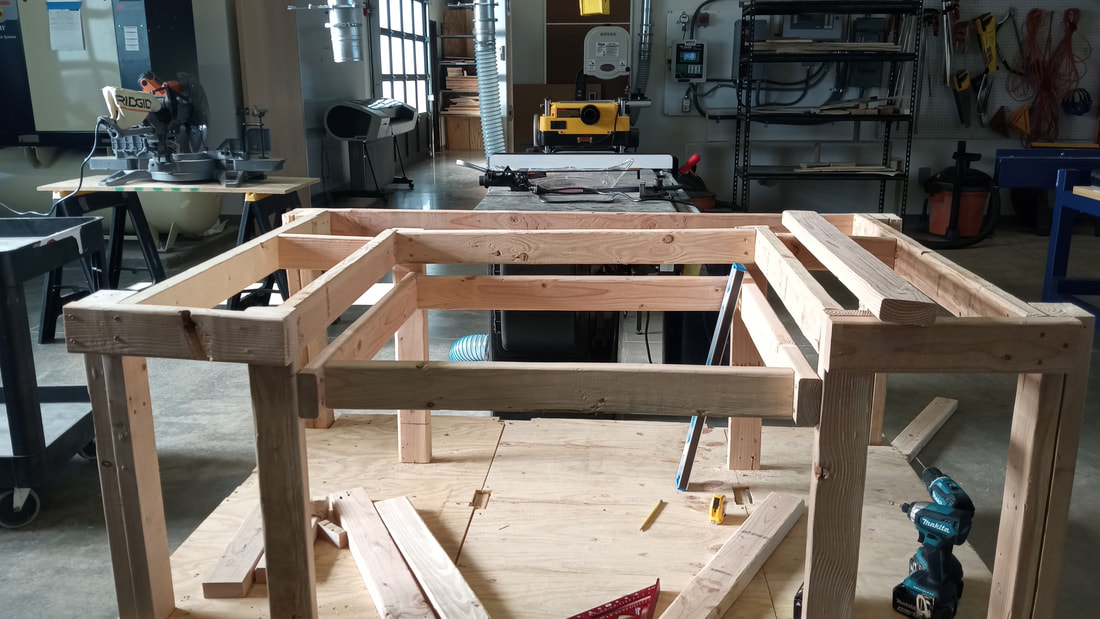
Here is the support that the lower table top will rest on. This lower table top is also what the chop box will rest on.
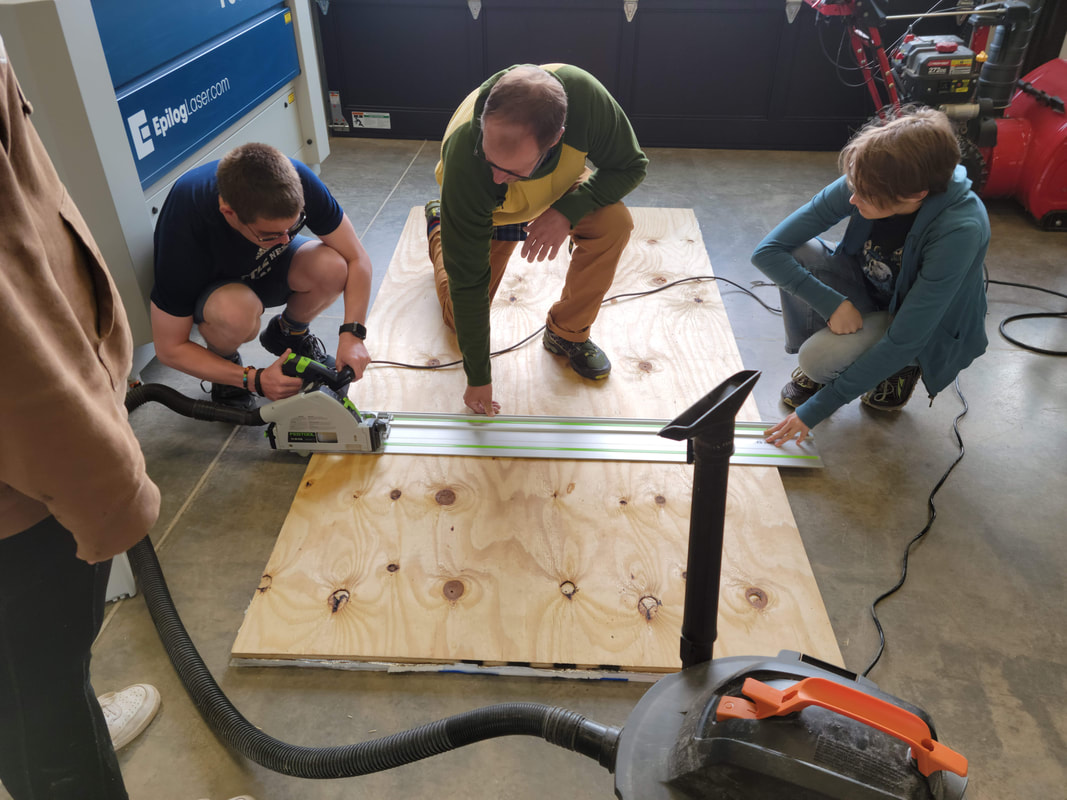
Our teacher instructs us on how to use a specific kind of saw to make straight cuts. In this picture we are cutting the piece of plywood that we used for the table top.
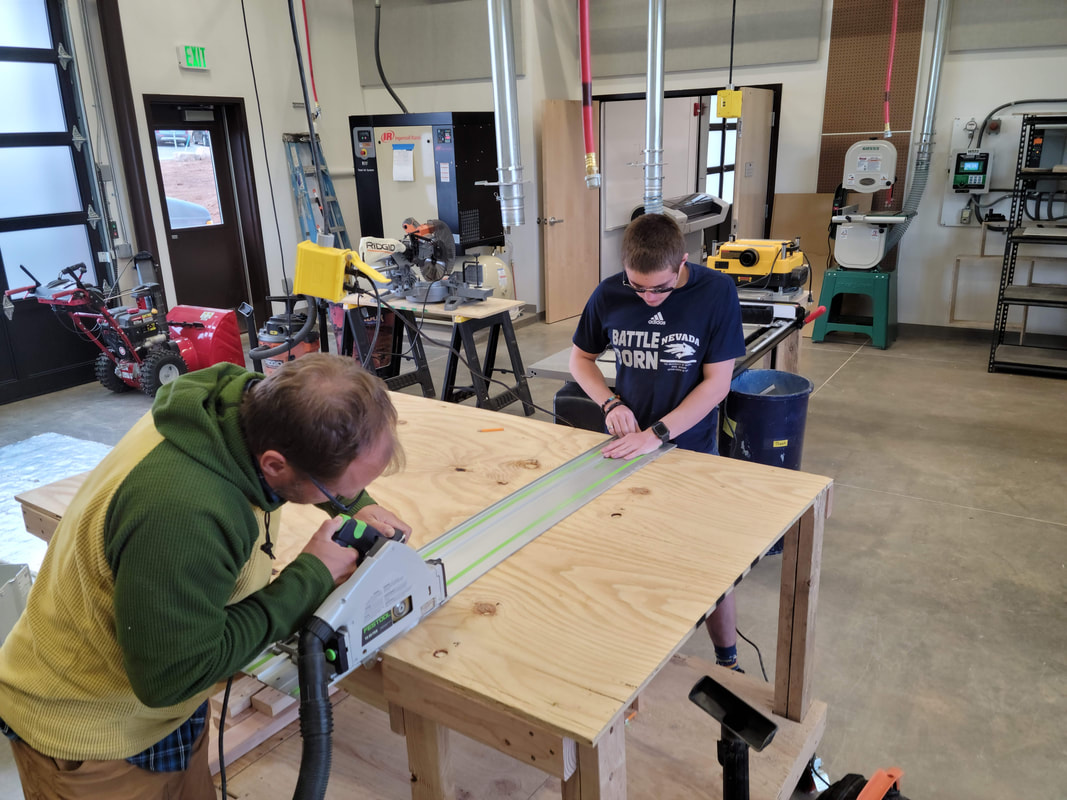
Eventually we decided to use the same saw that we originally cut the plywood with to cut out the middle piece of plywood. The people in our group who weren't cutting the wood had to carefully watch where the saw blade was going so we could make sure that we weren't cutting too far.
In the above and above and to the right picture our group permanently attaching the table tops to the frame. Here we had to place the screws very carefully so as to screw into the 2x4s underneath.
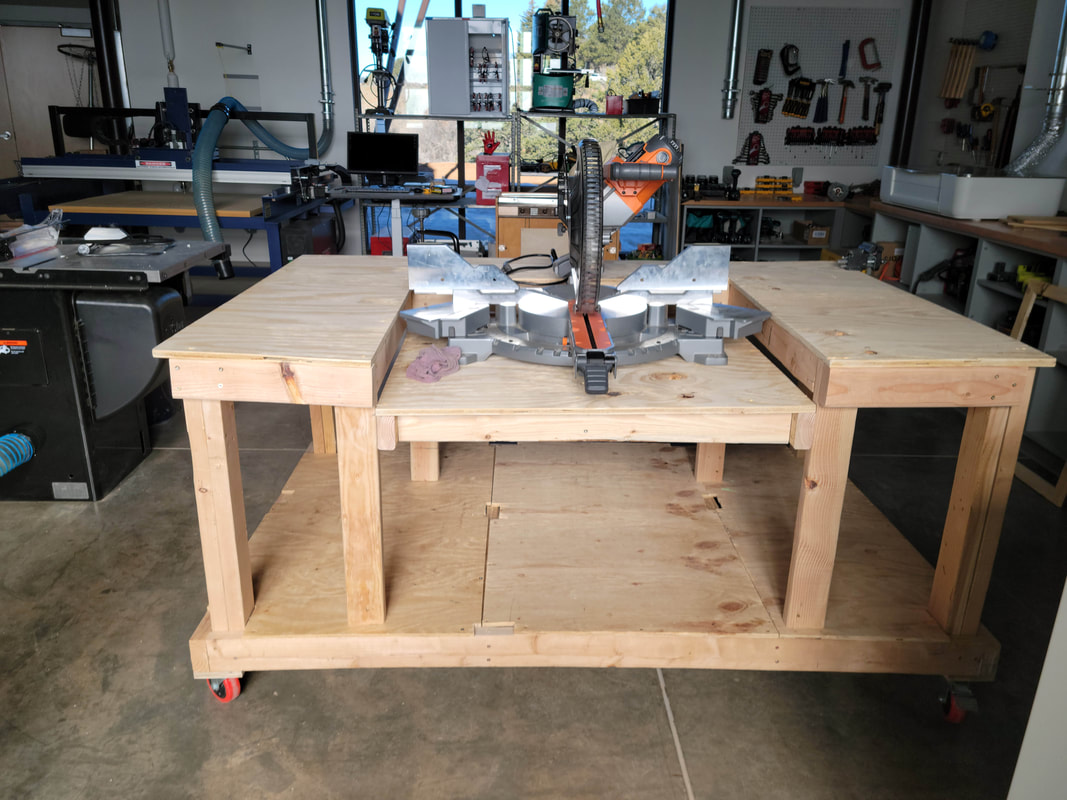
Yay! We finally finished! The chop box fit perfectly in and on the table. The table also has lots of room for storing projects and tools.
|
In the above image one of my groups members
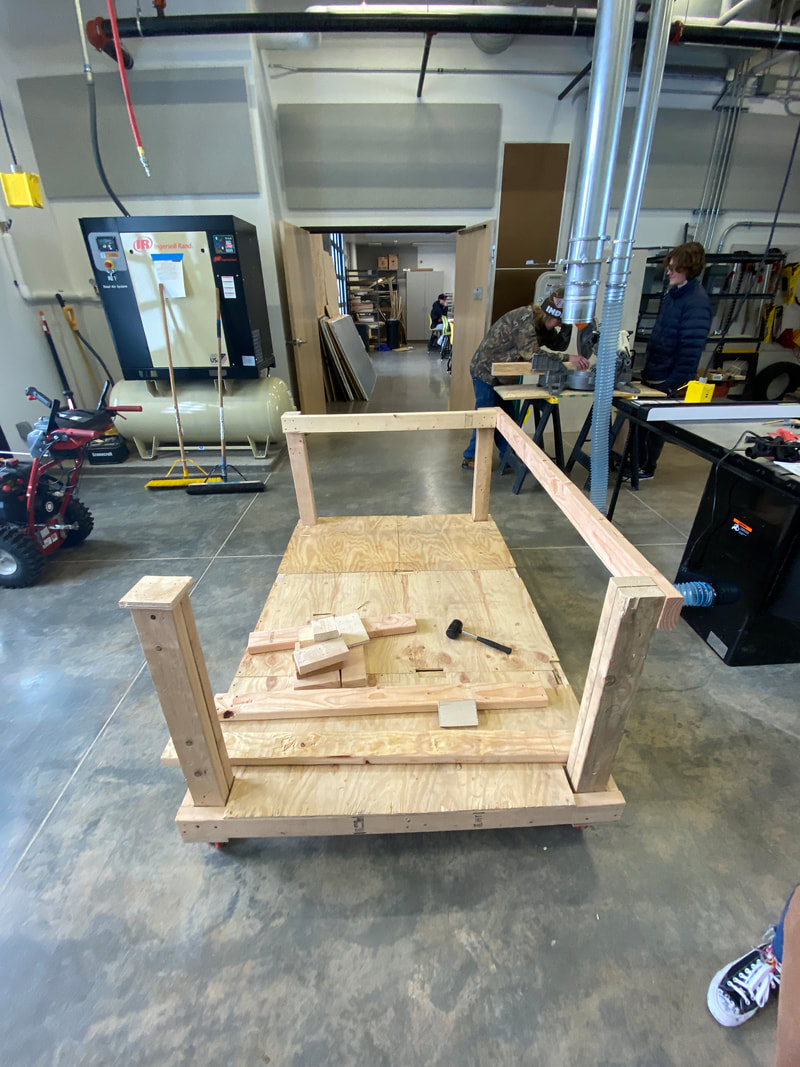
In the above image you can see that two of the three side supports as well as all four of the legs are attached. Some of the wood that is sitting on the base of the table will be used for the side supports.
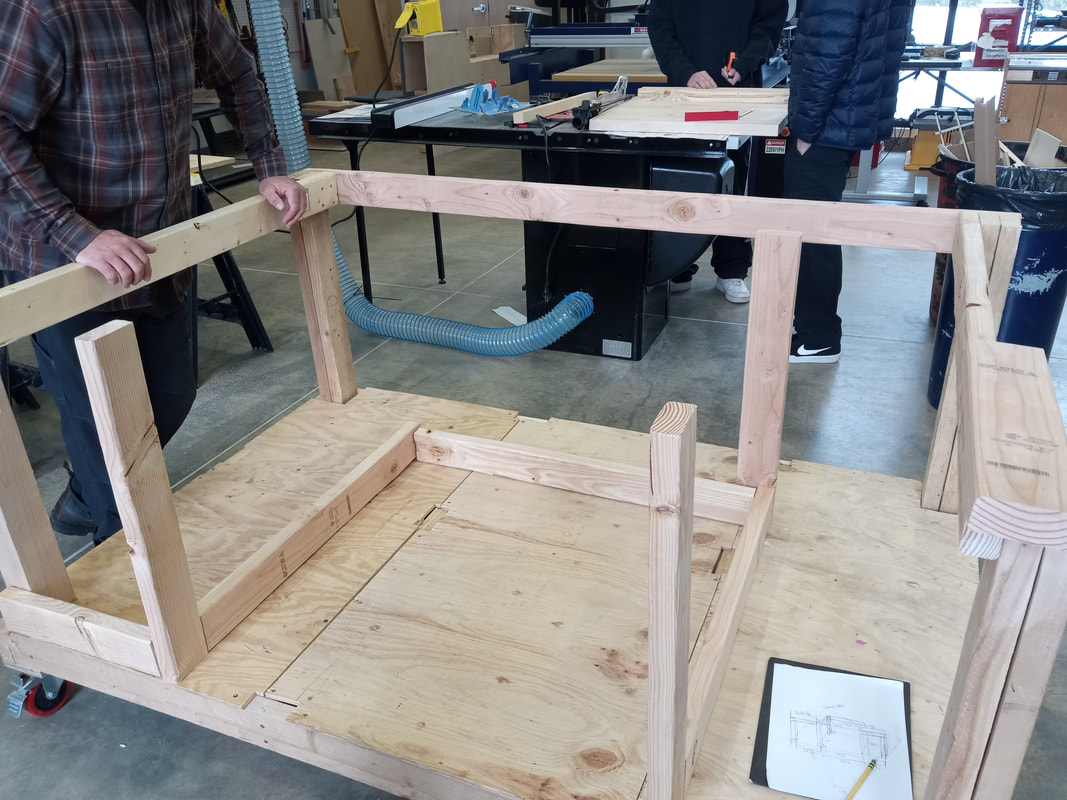
Here we can see the table with the main side supports installed. The pieces of the internal support are laying in the middle of the table so we could see how we want the supports to connect together. The supports that were horizontal are eventually going to be suspended, so they are not laying in their final spots.
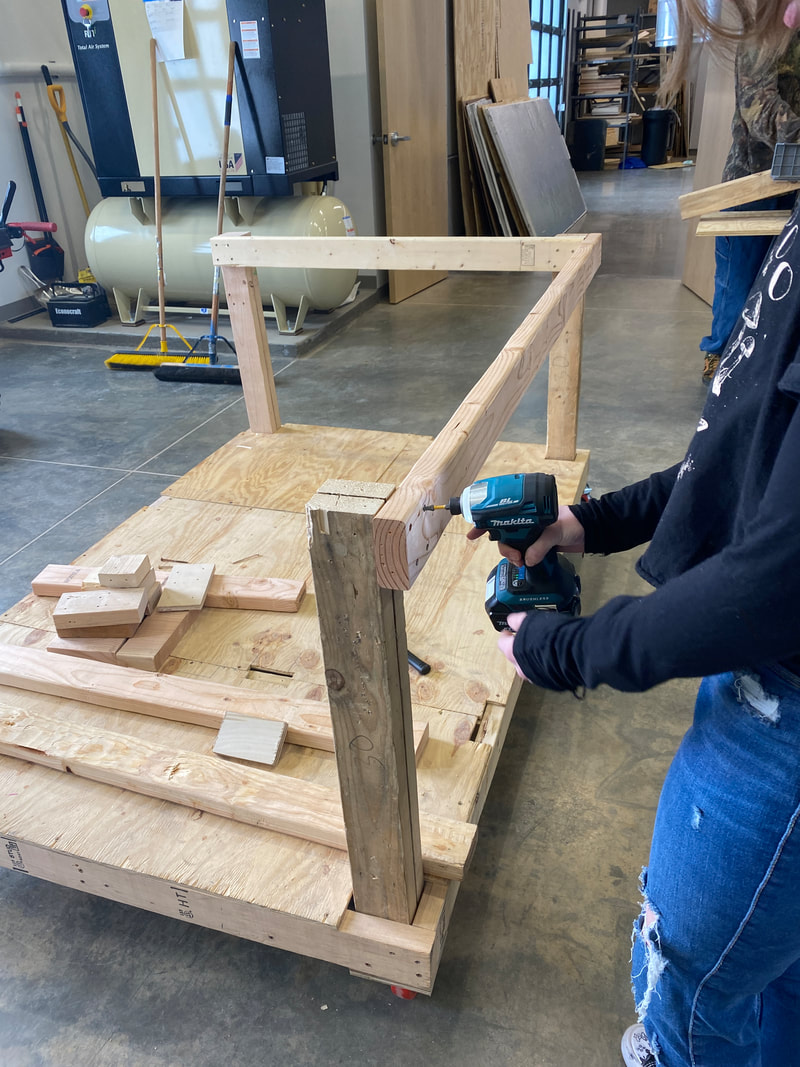
Above is one of my group members screwing the front support on to the leg of the table.
Two of my group members and I are reattaching one of the 2x4s on the middle support piece after we realized that the original piece was too short.
Two of my group members attach a piece of wood that would act as a spacer between the internal and external support. This will help provide more support and it will keep the angles of the internal support congruent with one another.
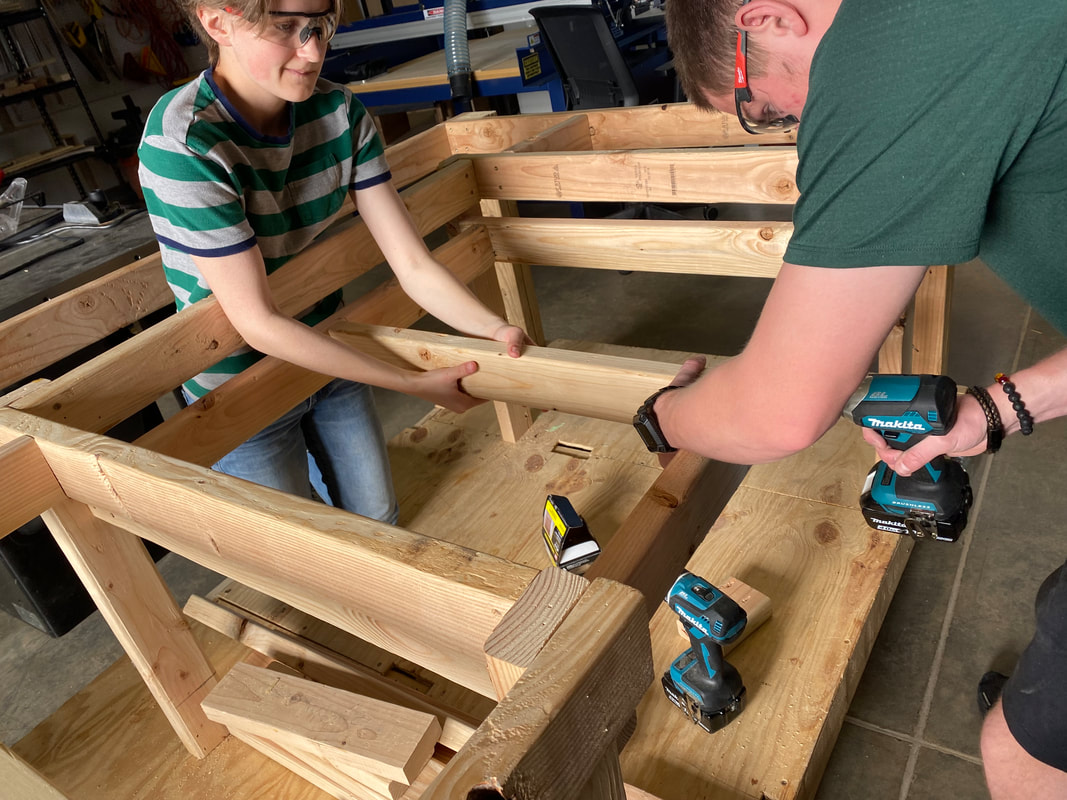
A group member and myself attach another piece of wood to support the center of the lower table top. This will keep the wood from bending and warping under the weight of the chop box.
We were finally able to attach the plywood to the top of the table. We were trying to figure out how to cut out the smaller square that would be the lower table top. We found that the bottom of the table and the positioning of the legs make the table asymmetrical, so it was very difficult to cut out the middle of the table correctly.

After we secured the table top to the frame we worked on cleaning up the edges and top of the ply wood.
|

This project may have taken about a month and was full of lots and ups and downs, but after everything the table looks clean and professional. Before taking this class I assumed that making a project like this would be fairly easy. Oh how wrong I was. There was a steep learning curve with working in 3 dimensional space for me, and with limited amounts of wood every little error cascaded into many more problems. Though, even if this project was tough for me I am very satisfied with the look of the table and everything that I was able to learn throughout this project.
Chess Board Project
As a junior, I only had about 3 weeks left of this class once I had finished the chop box project. While other people picked bigger projects to work on next, I decided to stick with a smaller design: a chess board. My plan was to create a design for the top of the chess board that I could laser cut into a nice piece of wood. And, If time permits, I would like to make a magnetic storage compartment and 3D print chess pieces for the board.
